You can make a jewelry box at home, even if you have never tried before. Grab some wood or cardboard—both work great. Get creative with your design. Try adding compartments or a soft lining. If you want to know how to make a box for jewelry, you are in the right place!
Key Takeaways
- Pick materials like wood, plywood, or cardboard. Think about your budget and skills. Cardboard is good for beginners. It also costs less. – Measure each piece with care. Cut the pieces so they fit well. Put the box together after cutting. Use glue to stick the parts. Use clamps to hold them while they dry. This makes the box strong. – Put a soft lining inside the box. Add compartments to organize your jewelry. Decorate the box to make it special. This helps protect your jewelry and makes your box unique.
Materials and Tools
Materials
You have lots of choices when picking materials for your jewelry box. Many people use wood, like oak or walnut, because it looks beautiful and lasts a long time. If you want something lighter or cheaper, try plywood or even cardboard. Cardboard works well if you want to learn how to make a box for jewelry without spending much money. You can also use recycled items, like old cigar boxes, for a fun upcycling project.
Here’s a quick look at common materials and their pros and cons:
| Material | Pros | Cons |
|---|---|---|
| Wood | Strong, looks elegant | Needs tools, costs more |
| Plywood | Easy to cut, affordable | Not as fancy as hardwood |
| Cardboard | Cheap, easy to shape | Less durable |
| Fabric/Yarn | Great for decoration | Needs glue or sewing |
| Felt/Velvet | Soft lining, protects jewelry | Can be tricky to attach |
Most people spend between $20 and $100 on materials, depending on what you choose and how fancy you want your box.
Tools
You do not need many tools to start. For most projects, you will want:
- Saw (a miter saw or table saw works best for wood)
- Measuring tape
- Wood glue
- Sandpaper
- Hinges and small screws
- Safety gear (glasses, dust mask)
If you want to make your project easier or more professional, you can use extra tools like a drill press, chisel set, or a miter box. Clamps help hold pieces together while the glue dries. These tools make learning how to make a box for jewelry much smoother.
Optional Supplies
Now comes the fun part—decorating! Many people line their boxes with velvet, satin, or felt. These fabrics protect your jewelry and make the box feel special. You can also use pretty paper, gold leaf paint, or mini-drawer handles to add style. Try using a clear sealant to keep your paint looking fresh.
Tip: Choose a soft fabric like velvet or satin for the inside. It keeps your jewelry safe from scratches and adds a touch of luxury.
How to Make a Box for Jewelry
Cutting Pieces
Start by planning the size of your jewelry box. Sketch a simple diagram and label each part: base, front, back, sides, and lid. Double-check your measurements before you cut anything. Use a pencil and ruler to mark your cut lines clearly on the wood or cardboard. Always remember the rule: measure twice, cut once. This helps you avoid mistakes.
If you use wood, grab a miter saw or a hand saw for straight, clean cuts. For cardboard, a sharp craft knife works best. Number each piece as you cut so you can keep track. If you want to try box joints, test your setup with scrap wood first. This step makes sure your joints fit perfectly and your box comes together smoothly.
Tip: Beginners sometimes use the wrong side of wire cutters, which can leave pinched or uneven edges. Always use the back side for a flush, clean cut.
If you want to know how to make a box for jewelry with alternative materials, cardboard is a great choice. It’s easy to cut and shape. Just be gentle to avoid bending or tearing the edges.
Assembly
Lay out all your pieces and do a dry fit before you start gluing. This means putting the box together without glue to check that everything lines up. When you’re happy with the fit, use wood glue or strong craft glue for cardboard. Apply glue to the edges and press the sides together at right angles.
Clamp the pieces or use tape to hold them while the glue dries. For wood, let the glue set for at least one hour before moving on. If you use nails, tack the corners with small pin nails before clamping. This keeps everything in place. For extra strength and style, you can add thin wood strips (called splines or keys) across the corners.
If you’re using a repurposed box, you can skip most of these steps. Just focus on adding lining and compartments inside.
Note: If your workspace is cold, keep it warm during glue-ups. Glue works best above 50°F.
Sanding and Smoothing
Once the glue dries, it’s time to smooth the surfaces. Start with 180-grit sandpaper to remove rough spots. Move up to finer grits like 600 or even 1000 for a silky finish. Sanding before assembly can help you reach tricky spots. For rounded edges or small areas, wrap sandpaper around a stick or dowel.
Always wear safety glasses and a dust mask when sanding. Work in a well-ventilated area and keep your workspace clean. If you use power sanders, keep your hands and loose clothing away from moving parts.
Tip: Sanding up to 1000 grit gives your jewelry box a polished, professional look.
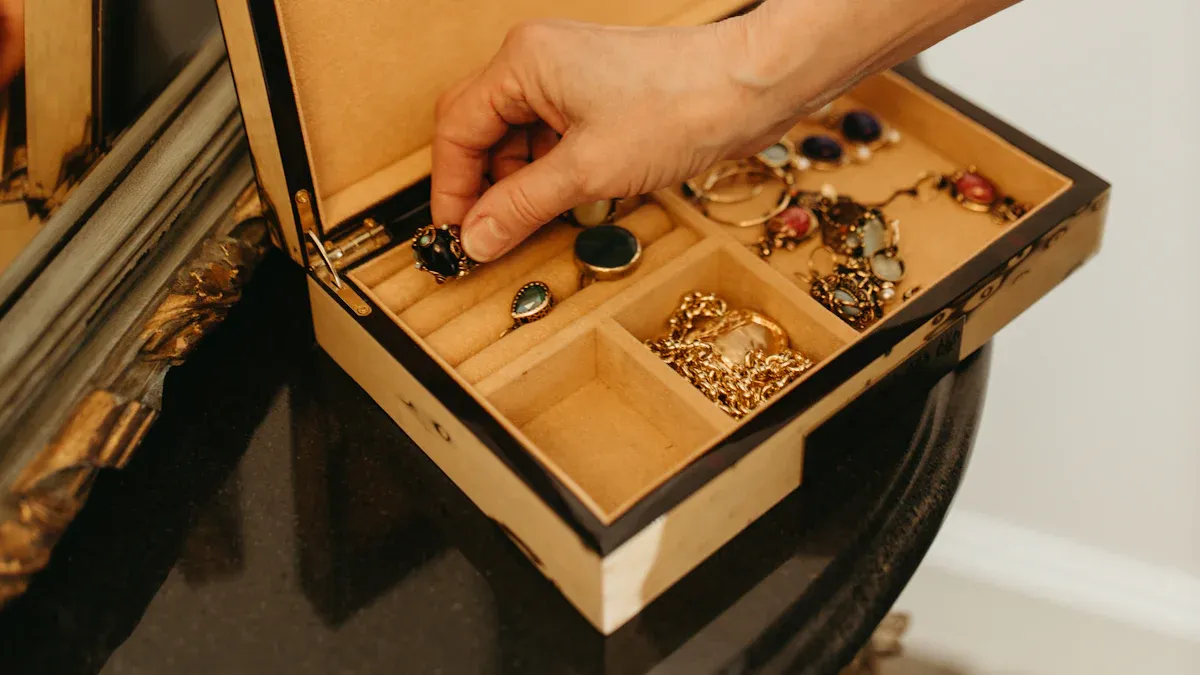
Lid and Compartments
A good lid keeps your jewelry safe. To attach it, run glue along the top edges of the box, place the lid, and use masking tape to hold it while the glue dries. Work quickly so you can adjust the fit before the glue sets. Clean up any glue that squeezes out with a damp rag.
If you want a hinged lid, tape the lid in place and install the hinges carefully. Add extra layers of tape to allow for the thickness of the finish.
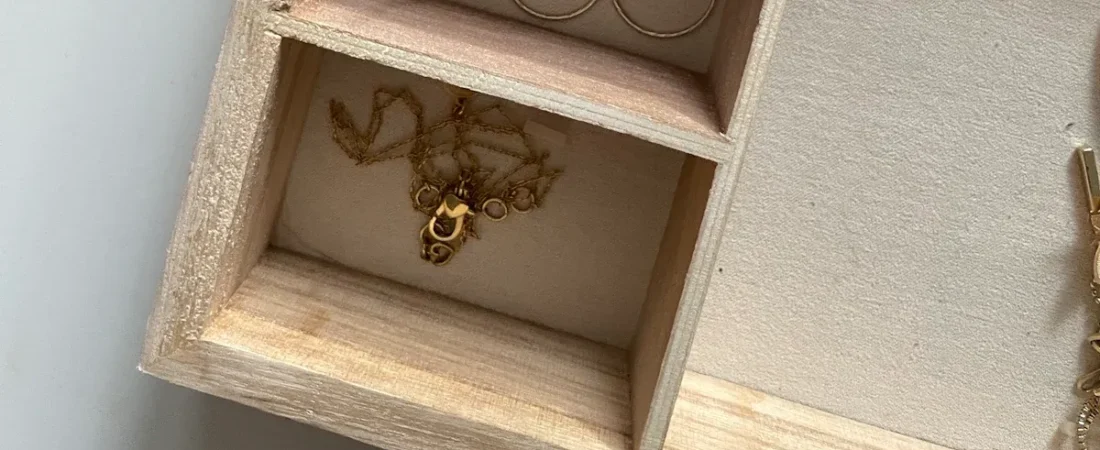
Now, think about compartments. Use thin strips of wood or cardboard to create dividers. Line each compartment with felt or velvet to protect your jewelry. You can design special organizers for rings, earrings, or even hidden compartments for extra security.
Callout: Plan your compartments based on the jewelry you own. This keeps everything organized and easy to find.
Lining and Finishing
Lining your jewelry box makes it feel special and keeps your treasures safe. Velvet and suede are top choices because they’re soft and prevent scratches. Cut your fabric to fit each compartment. Use white glue with a foam roller or hot glue for best results. Avoid spray adhesives, as they can peel over time.
If you want a padded look, wrap fabric around light cardboard panels before gluing them inside. This hides glue marks and adds a plush feel. For delicate fabrics, wait until the box is finished before adding the lining.
Finish the outside with paint, stain, or clear sealant. Let each coat dry completely before adding another. This protects your box and makes it shine.
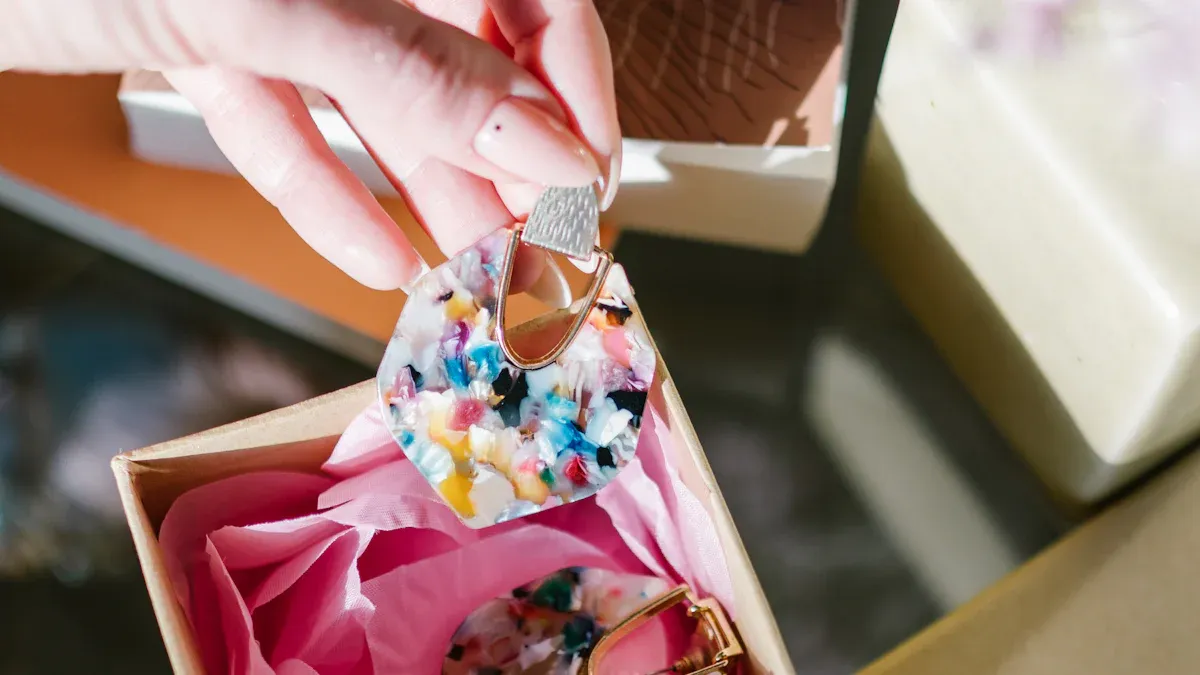
Customization
Now comes the fun part—making your jewelry box unique! Try adding borders or inlays with materials like mother of pearl, bone, or resin. Paint geometric patterns or use gold leaf for a touch of luxury. You can even engrave your name or a special message.
In 2025, many people love eco-friendly touches. Use bamboo, recycled paper, or plant-based inks for a modern look. Minimalist designs with bold colors or metallic accents are also popular. If you want to know how to make a box for jewelry that stands out, try mixing retro styles with modern details, like silk linings or hand-painted motifs.
Personalizing your jewelry box with custom compartments, engravings, or special decorations turns it into a keepsake. It can even become a family heirloom.
If you use a repurposed box, focus on creative lining and compartment ideas. Roll up cotton batting in fabric tubes for ring holders or add padded panels for earrings. This skips the woodworking and lets you jump right into decorating.
Remember: Customizing your jewelry box not only protects your jewelry but also makes the box a reflection of your style and memories.
You can feel proud when you finish your own jewelry box. Trying new materials and decorations makes each box special. Crafting helps you relax, boosts your mood, and lets you show your style. Join online groups to share ideas and see how practice makes your skills even better!
FAQ
How long does it take to make a jewelry box?
You can finish a simple jewelry box in one afternoon. If you add paint or decorations, you might need a little more time.
Can I make a jewelry box without power tools?
Yes! You can use hand tools like a small saw or craft knife. Cardboard boxes need only scissors and glue.
What if I make a mistake while building?
Don’t worry! You can sand rough spots or add decorations to cover small errors. Every project helps you learn and improve.